Once the mechanical components were working well, the next step is making it wearable. The original idea was to make it as a sleeve for the lower arm, so a pattern needed to be developed.
One common method used by people who make their own costumes, cosplayers, uses a thin plastic and tape.
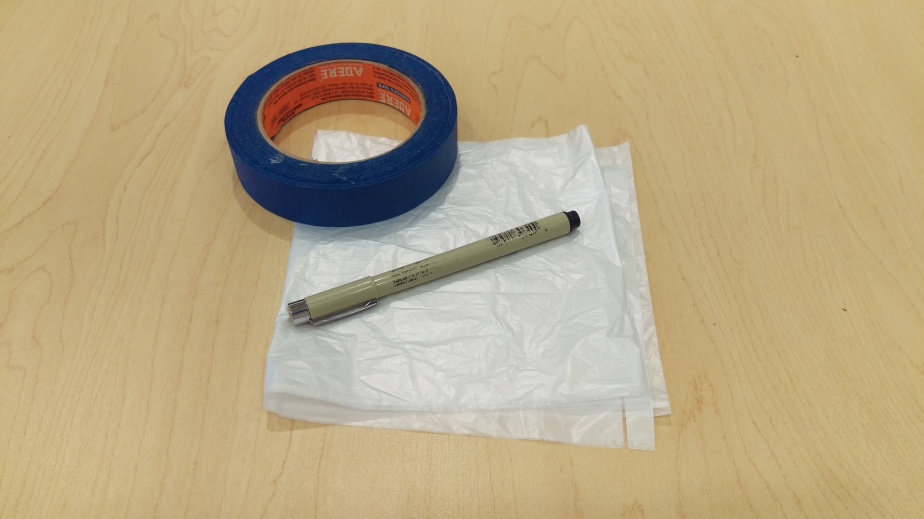
First step is wrap and secure plastic around the area a pattern is wanted. The plastic can be saran wrap, a grocery sack, trash bag, or anything similar.


Covering the plastic in between the taped boarders, making sure to keep the tape as smooth as possible, is the next task.

Carefully remove with scissors, trim off the excess plastic around the edges, and cut the piece in half.


Using one of the halves, trace the shape out on a piece of scrap card board. Then draw a second line half inch away, all the way around the shape for a seam allowance.


This pattern is then used to cut out the needed layers of fabric that will house all the components for the second prototype.

